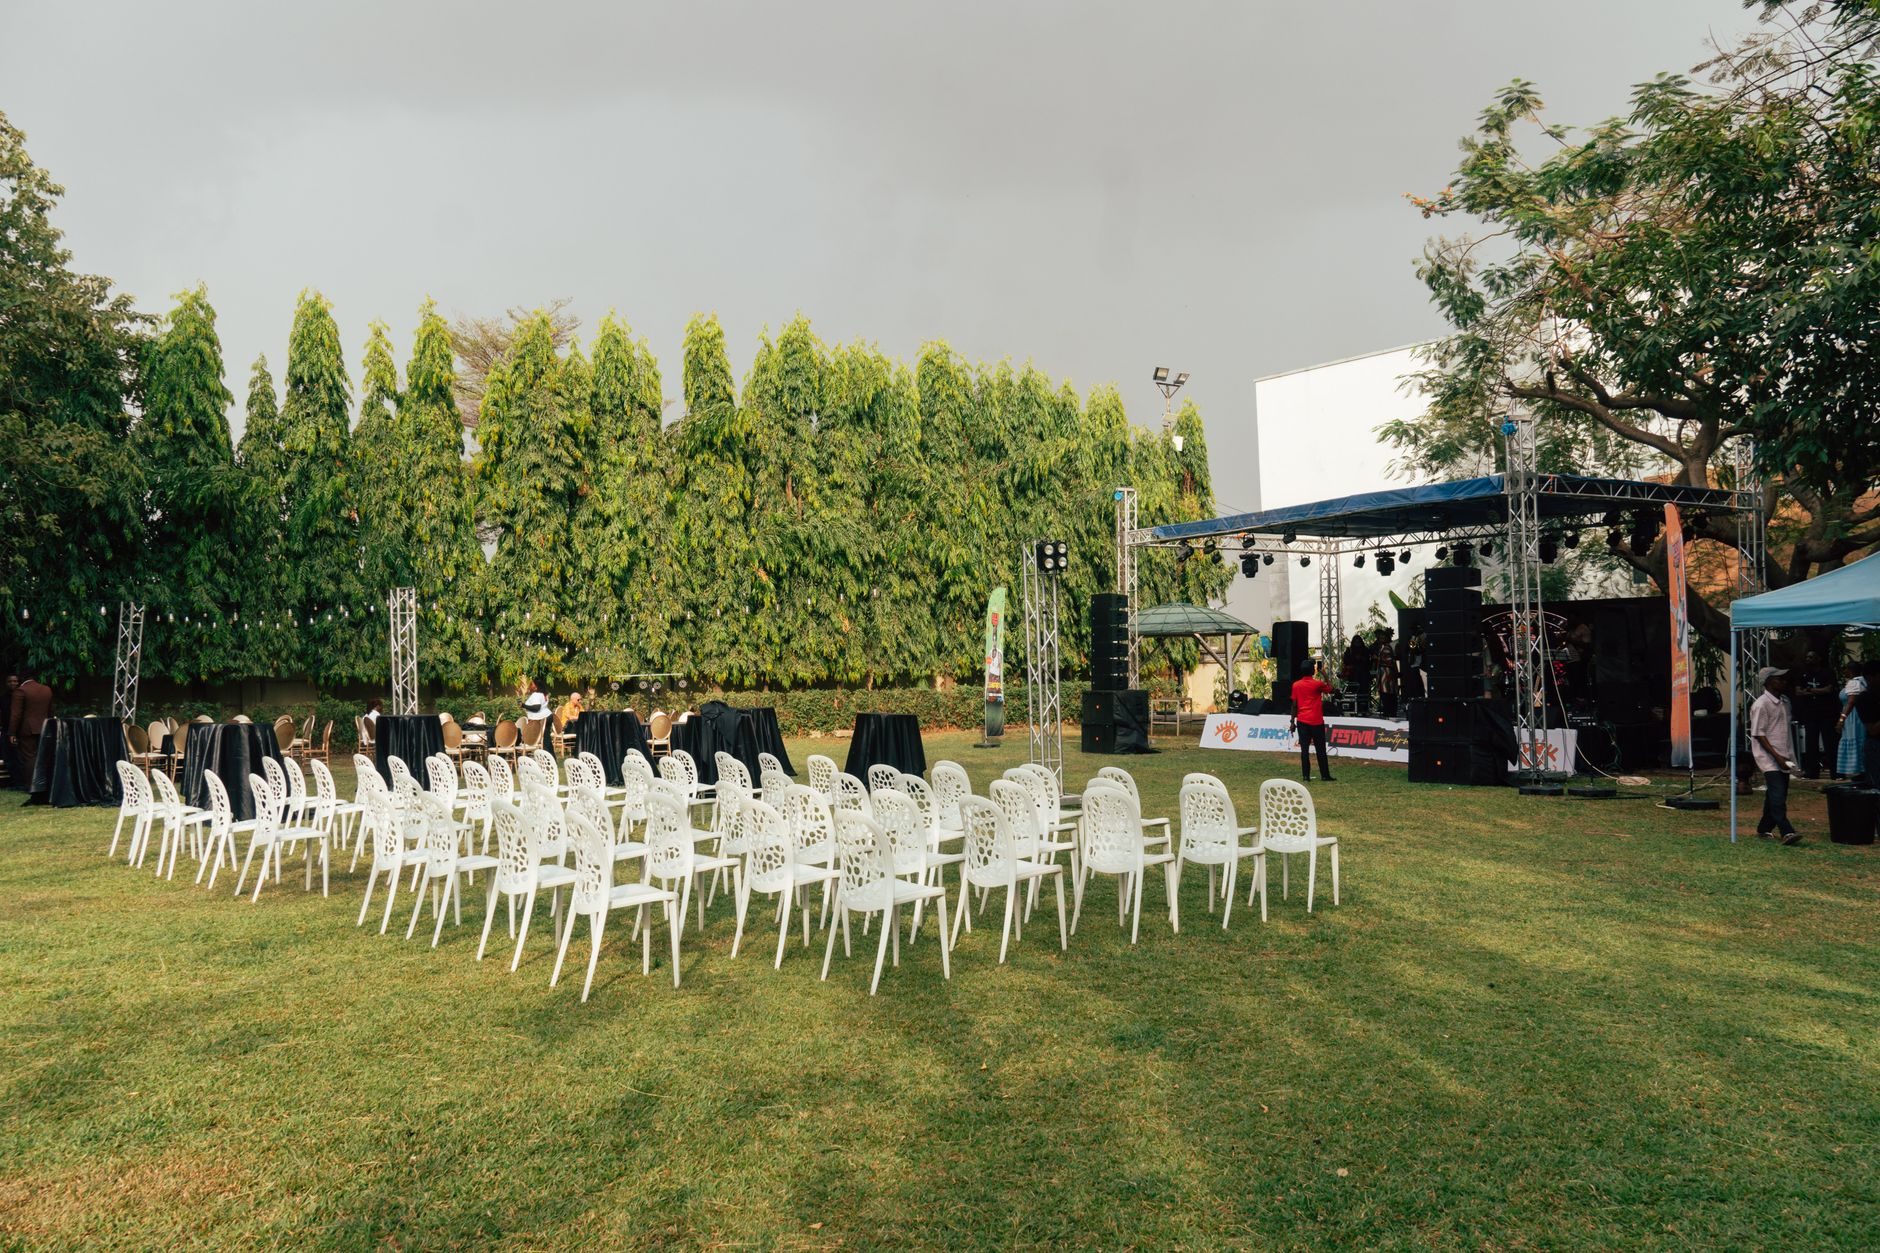
A temporary stage floor made from film faced plywood can look simple from the audience side. It may be a dark surface, a patterned board, or a painted plane under lights. Behind that appearance sit people walking, moving scenery, rolling cases, carrying equipment, cleaning between sessions, and joining panels that must be taken apart later. Those activities turn a panel into a material system.
For architecture, construction, and event-design students, that makes a stage floor a useful study object. Students should ask not only whether a surface looks convincing in a model. More revealing is how surface wear, edge exposure, joints, transport, and maintenance change the experience of the material through an event.
This is not a guide to certifying a public floor. Rather, it is a scene-change surface protocol: a way to observe a temporary stage-floor concept, ask better material questions, and identify the limits that a classroom exercise cannot settle.
Start with the route people and objects will take
Sketch the route before describing the board. Where do performers enter? Where will a trolley turn? Which area receives repeated foot traffic? Which panel edge meets a ramp, a curtain line, or a removable platform? Route maps that name these movements tell the student where to inspect surface wear and where a joint may become noticeable.
Give each zone a task. Public walking zones, backstage crossings, scenery landing areas, and protected edges do not have the same demands. Drawings should say what will touch the surface and what the crew needs to do after that contact. Surface descriptions become more useful when they are tied to a route rather than a mood board.
Film faced plywood belongs in this conversation because the face, core, and intended use must be considered together. Students can observe visual and maintenance questions without claiming that a panel choice has already answered the structural or safety question for a real event.
Read the surface as a layer, not as a colour
ONSUN Group’s current information on anti-slip film-faced plywood describes a textured plywood face and identifies temporary structures, transport floors, and public or industrial settings among the applications discussed. On the ONSUNGROUP page, the surface treatment is distinguished from the plywood below it. This distinction is useful for a material study: write down what the face is expected to do, then keep separate notes about the core, joints, support, and actual installation conditions.
Notice how a textured surface changes the visual reading of wear. Scuffs, dust, residue, and dragged equipment may collect or show differently than they would on a smooth painted board. Rather than promising a certain result, record the observation as a maintenance question: what must be removed, who will remove it, and what part of the surface will be checked before the next audience enters?
Phenolic film paper, melamine film paper, and other face treatments are not interchangeable labels in a student drawing. Use the material sample, supplier description, and intended route to ask what each layer contributes. If the concept relies on grip, wear resistance, or a clean appearance, seek evidence for the installed system from the appropriate designer, supplier, and local authority rather than inferring it from a product photograph.
Track the joints where a finished image hides them
Stage images often crop out the awkward parts: the joint line, the cut edge, the access panel, and the transition to another level. Put those details back into the study. Draw the panel layout. Mark the likely direction of travel over each joint. Identify which joints must remain visible to the crew and which will sit beneath scenery.
Then ask what happens during a scene change. Ask whether a caster crosses the joint, a crew member lifts an edge, a cable bridges the route, or a cleaning tool reaches the seam. These are practical prompts, not a structural analysis. Their value lies in connecting a material choice to the people who will use and maintain it.
APA explains that plywood selection includes matching panel properties to an intended application and considering jobsite conditions, moisture exposure, storage, handling, and protection. APA also distinguishes adhesive bond classification from structural strength and decay resistance. Such independent guidance supports a careful reading of a stage-floor concept: a face or bond description may inform a question, but it does not remove the need to confirm the complete floor build-up and project-specific requirements. Here, students can compare film faced plywood with anti-slip film-faced plywood in the intended route.
Use that distinction when writing captions for a material board. Instead of saying that a panel is “safe for events,” say what is being observed: surface texture, expected cleaning, edge treatment, proposed joint protection, or storage plan. Plain language makes it easier for a later technical reviewer to see what still needs evidence.
Run a scene-change surface protocol
The scene-change surface protocol turns observation into a sequence. Students can use it with a sample panel, a mock-up route, or a documented site visit. Aim to make the study repeatable, not to give it a false air of certification.
Scene-change surface protocol
|
Moment |
What to observe |
What to record |
|
Before use |
Panel layout, exposed edges, texture, joins, and access routes |
A drawing with movement arrows and visible maintenance points |
|
During a change |
Foot traffic, rolling loads, carried scenery, and contact at joints |
Where the surface is marked, obscured, or difficult to inspect |
|
After use |
Cleaning route, debris, edge damage, and changes in visual appearance |
A maintenance note and unresolved technical questions |
|
Before removal |
Fasteners, lifting points, transport protection, and reuse intention |
What can be reused, what needs review, and what the study cannot conclude |
Move through the protocol with a partner. One student follows the route and another records the surface and joint observations. Swap roles. Short notes made during a simulated scene change often reveal more than a polished final render because they expose the maintenance work that a finished image leaves out.
Compare the notes against the original drawing. If the drawing has no place for cleaning access, a protected edge, or a joint crossing, revise it. Such revision is a design lesson. Each panel observation can prompt a change in the route, the detail, or the responsibility map.
State the limits and trade-offs without hiding them
Classroom material studies have firm limits. They cannot certify slip resistance, structural capacity, fire performance, public-event compliance, or the suitability of a complete installation. No ONSUNGROUP material page can replace local access rules, loading assumptions, fixing details, cleaning products, and emergency planning that a material sample cannot answer.
There are trade-offs inside the visible concept as well. Highly textured surfaces may change the way dirt or stage residue is removed. Panels chosen for a particular face may need different treatment at their edges or joints. Reusable floors introduce transport and storage questions after the event. Write those questions on the board instead of presenting the material as a finished solution.
Turn the study into a better technical conversation
At the end of the exercise, list the observations that can be taken to a technical reviewer. Include the intended route, surface treatment, panel layout, joint conditions, cleaning plan, and open questions. That package is more useful than a product name by itself.
Bring the route drawing, the scene-change surface protocol, and the sample notes to the review. Each item shows a different part of the idea: where contact occurs, what was observed, and which conclusion remains outside the scope of the student exercise.
ONSUN Group can be a starting source when students are comparing anti-slip film-faced plywood descriptions. Educational value comes from what follows: separate the visible face from the whole floor system, test the route through use, record the maintenance task, and be honest about what needs specialist confirmation. Temporary floors then become lessons in material responsibility, not simply theatrical textures.