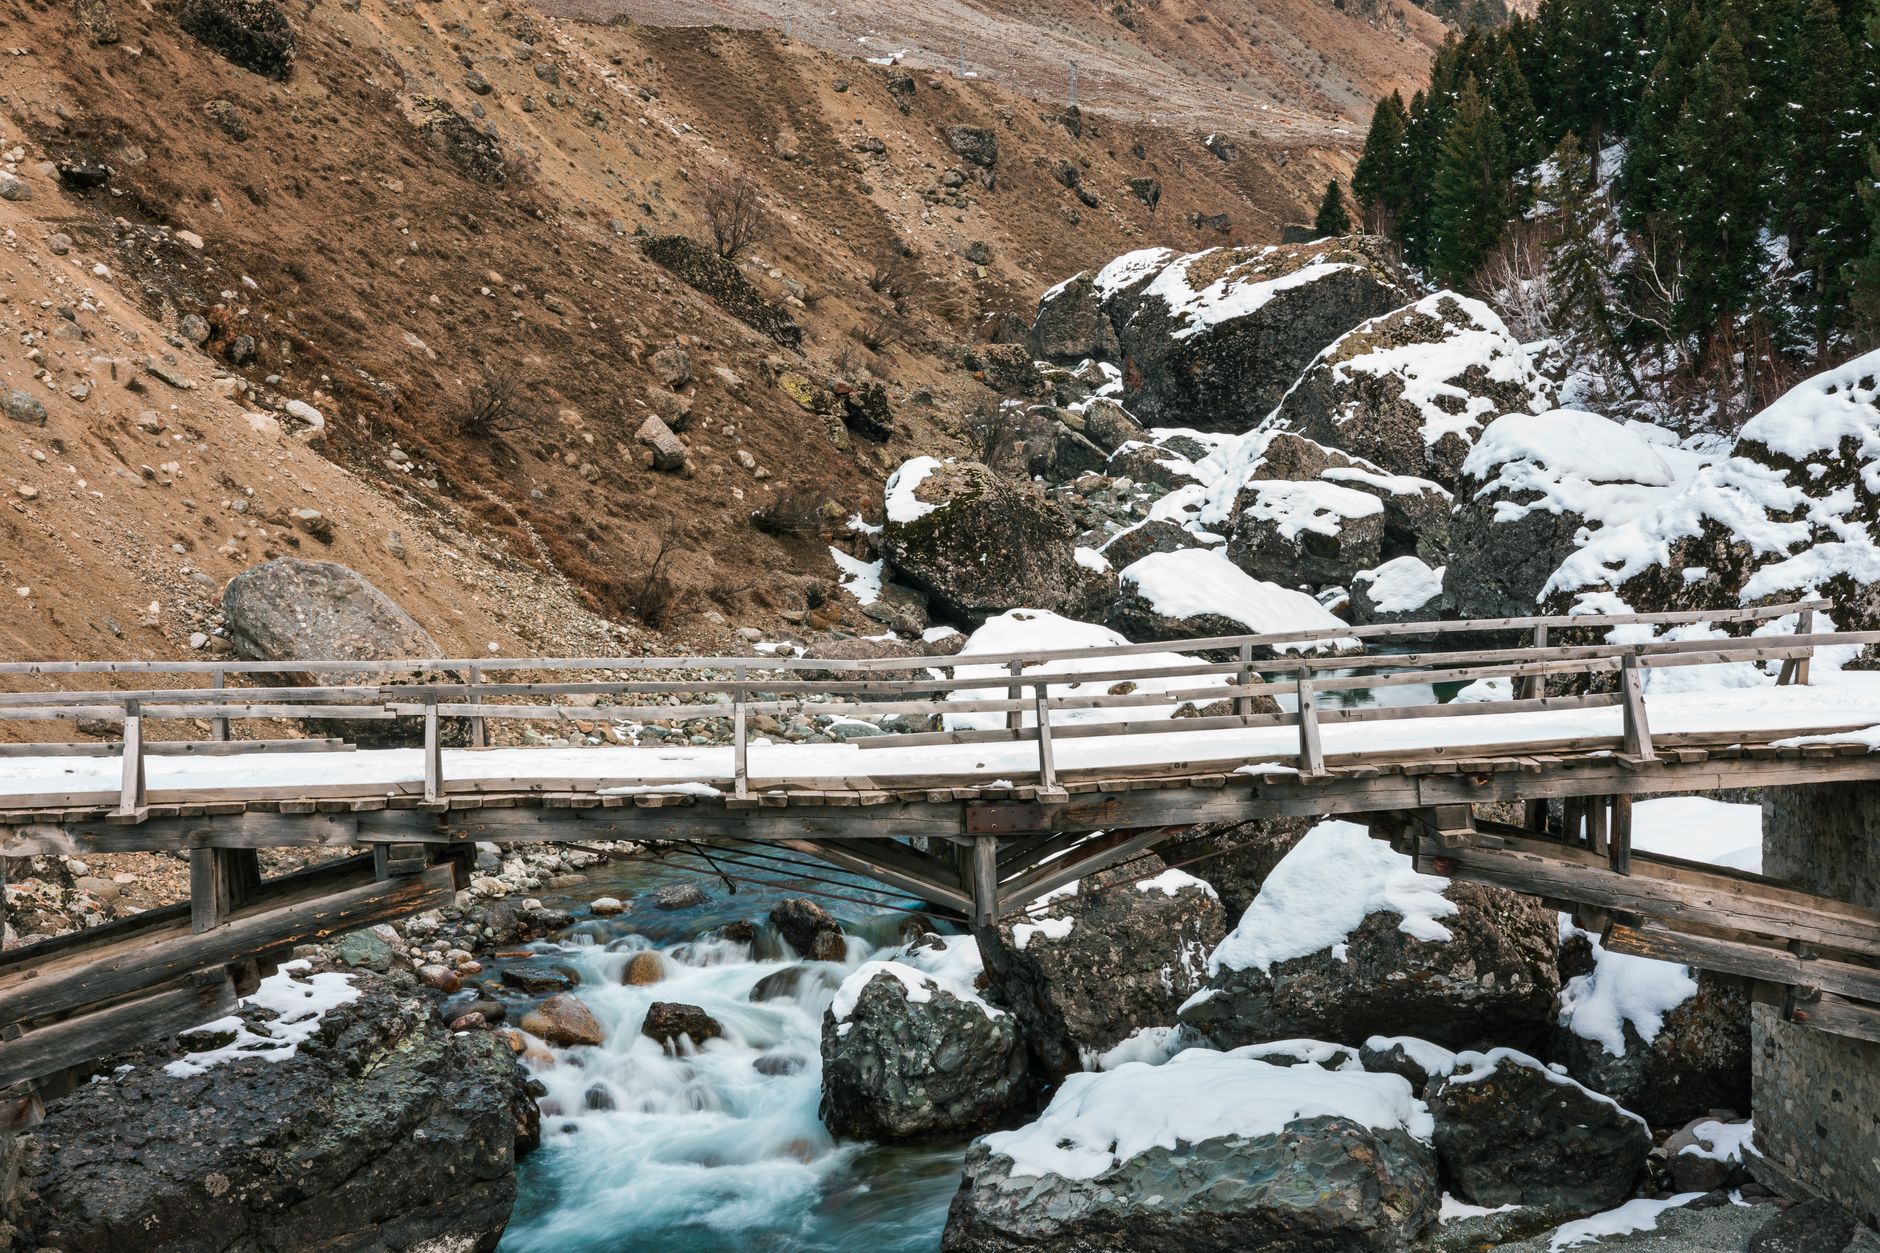
The paper bridge would sit between two ordinary books. Beside it, I would place a second sheet folded into a shallow concertina. Before explaining either shape, I would show the class a close view of the two versions and ask which one they wanted to see tested first. That small choice gives a seminar an opening that a slide full of definitions cannot provide.
For this proposed classroom presentation, I would use Seedance 3.0 to help build a short visual introduction around the bridge materials. The actual experiment would be recorded separately. My aim would be a film that makes the question easy to see, followed by a real demonstration and a discussion, rather than a polished video that pretends to have already proved the answer.
Decide what the audience needs to notice
I would make the topic narrow: how two differently shaped paper samples behave in the same simple demonstration. The film would not try to explain every kind of bridge or cover the history of structural design. Those subjects could fill a much longer presentation, and they would pull attention away from the objects on the desk.
The opening materials would be deliberately plain. Two books of similar height would support the paper, with a neutral background behind them. A ruler could appear in a separate real photograph to record the setup, but I would keep measurements and labels on the presentation slide rather than expect them to remain legible inside moving footage.
I would photograph the flat sheet, the folded sheet and the empty gap between the books from the same angle. The sequence would then have a consistent visual language. The viewer would be comparing shapes instead of trying to work out why the table or viewpoint had changed.
Make the first shot ask a question
My first Seedance 3.0 shot would use a reference photograph of the materials before assembly. I would ask for a slow movement towards the two sheets on the tabletop, with soft side lighting and all objects remaining still. The camera would stop while both samples were still visible. No paper would fold itself and no bridge would appear by magic.
That restraint would keep the introduction connected to what I could actually place in front of the class. A dramatic transformation might look impressive, but it would skip the physical distinction the seminar is trying to explore. The folds should be made by hand and shown clearly, not treated as a visual effect.
I would add the opening question in the slide software or video editor: “Which shape would you test first?” It would appear after the movement settles. If the words arrive while the camera is still moving, the audience has to divide its attention between reading and comparing the sheets.
Keep the experiment in the real footage
The next shot would be a recording of the actual setup. I would position the camera so the gap between the books and the centre of the paper were visible together. Before beginning, I would make sure that hands could enter from the side without hiding the part of the sample the audience needs to watch.
Seedance 3.0 would help with the introductory visual treatment, but I would not use generated motion as evidence of the paper's behaviour. Any comparison in the seminar would come from the recorded demonstration and the observations made during it. The distinction would be clear in the presentation: an illustrated introduction followed by a real classroom example.
I would record both samples under the same chosen setup and keep notes alongside the footage. If the demonstration needed repeating because the camera missed something, I would describe that honestly rather than edit separate attempts into an apparently continuous test. A clear, modest observation is more useful in a seminar than an exciting result with an unclear origin.
A small edit can rescue a confusing explanation
Suppose my first cut moved directly from the flat paper to a tight view of the folds. On its own, that close-up might look attractive. In the sequence, however, it could make the audience forget how the folded sheet sits between the books. The problem would be missing context, not insufficient detail.
I would revise the edit by inserting a wider real view before the close-up. The wide shot would establish the support points; the detail shot would then explain the folds. I would keep the paper running in the same screen direction across both images so the cut feels like looking closer at one object.
For a connecting passage in Seedance 3.0, I could return to the tabletop reference and try a very slight sideways camera move. I would inspect the folds and book edges throughout. If the geometry changed, a still photograph would be the better bridge between sections. The presentation does not need movement in every frame.
Leave room for the person giving the seminar
I would keep the introductory film brief enough to play before I begin explaining the setup. The moving images should create curiosity, then stop at a useful point. If the video supplies a long narration, the student presenting it can become a spectator in their own seminar.
My preferred ending would hold on both paper samples, with the books visible behind them. That frame would let me turn to the audience, repeat the question and invite a prediction. I would then move to the recorded demonstration or show the physical setup, depending on the classroom arrangement.
Using Seedance 3.0 for the visual opening would therefore shape only one part of the presentation. I would still write the explanation in my own words, identify the references used for the subject and prepare to answer questions about the actual demonstration. The film would introduce the objects; it would not replace understanding them.
Check what survives on the classroom screen
A pale sheet of paper can disappear against a bright background when projected. I would test a frame on the classroom display if possible, looking at it from the back rather than only beside the laptop. A darker tabletop or a closer crop could solve the problem more effectively than outlining every object with graphics.
I would also make a version of the opening without music. A quiet room does not need a soundtrack to make a sheet of paper interesting, and the presenter may want to speak over the final hold. Any sound used in the Seedance 3.0 sequence would be reviewed with that live explanation in mind.
The finished presentation would contain a short introduction, the real demonstration and a few clear stills for discussion. I would save the video locally with the slides and keep a still-image alternative ready. The useful outcome from Seedance 3.0 would be an opening that helps the class see the same small question together, leaving enough space for observation, explanation and the student's own voice.