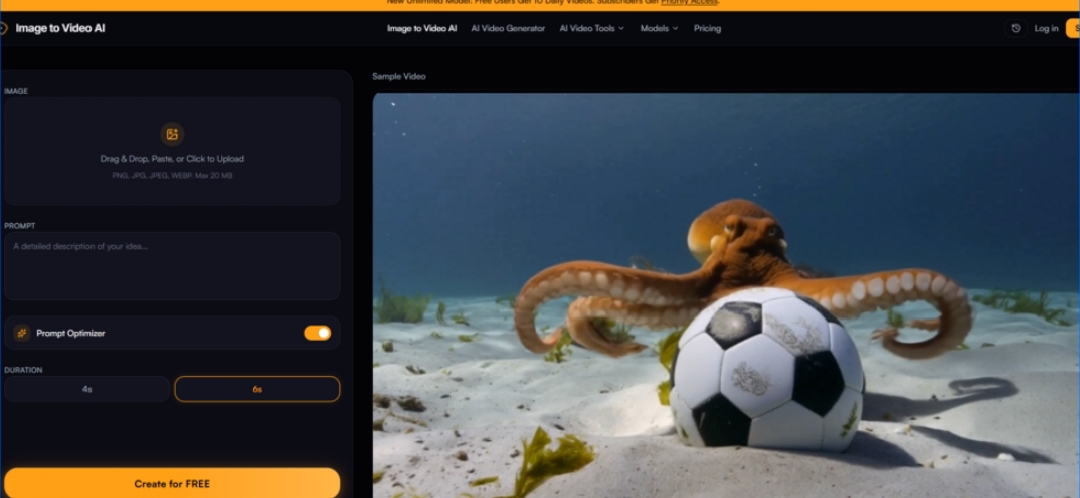
The gap between a still photograph and a moving image has never felt smaller. Over the past year, the image-to-video space has become unexpectedly crowded — new models arrive almost weekly, each promising to breathe life into flat visuals with a single prompt. But for anyone who has actually tried to produce usable video from a photo, the reality is often frustrating: jerky motion, warped subjects, prompts that the AI simply ignores, and watermarks that make the final clip look like a demo rather than a finished piece. That is precisely why I spent several days testing image to video ai across real-world creative tasks — from product animation to travel reels — to see whether this particular tool actually delivers on its claims or just adds to the noise.
A Quick Test Framework: What I Wanted to Know Before Trusting This Tool
Before diving into the workflow, I set up a few ground rules for myself. I wanted to evaluate this tool the way any creator would: not by running cherry-picked examples, but by throwing a mix of everyday images at it and seeing what came out. I tested portrait photos, product shots, landscape scenes, and even a few AI-generated concept art pieces. For each, I wrote prompts that ranged from extremely specific (“slow dolly zoom with shallow depth of field, focus on the flower”) to deliberately vague (“make it cinematic”). I also paid attention to the non-obvious things — how long each generation actually took, whether the interface got in the way, and how easy it was to iterate when the first result missed the mark.
The core question was simple: can this tool produce clips that I would actually use in a client presentation, a social media post, or a product page — without spending hours tweaking settings or re-running the same image twenty times?
How the Image-to-Video Workflow Actually Unfolds
The platform lays out a three-step process, and in practice, it really is that straightforward. There is no account creation required to start, no credit card form to fill out, and no confusing dashboard to navigate. You land on the page, and the upload area is right there.
Step 1: Upload Your Image
The first step is exactly what you would expect. You can upload JPG, PNG, or WEBP files up to 20MB. What I appreciated was the cropping tool that appears before generation — you can adjust the framing and aspect ratio right there, which means you are not locked into whatever dimensions your original photo happened to have. For social media work, where aspect ratio can make or break a post, this small feature saved me from having to pre-crop images in another editor.
Practical Upload Experience
The drag-and-drop interface worked without any hiccups across multiple browsers. I uploaded a mix of high-res DSLR photos and lower-quality web images, and the tool handled both without complaint. The 20MB limit felt reasonable — most of my test images were well under that, and even large RAW exports compressed easily to fit. The crop tool is basic but functional: you can choose from standard ratios or free-crop, which gives you enough control for most use cases without overcomplicating things.
Step 2: Add a Prompt to Describe the Motion
This is where the real creative control happens. You enter a text prompt describing the motion and effects you want — things like “slow zoom in,” “gentle sway,” or “flowing water”. The tool uses both your photo and your description to generate the animation. In my testing, the more specific I was, the better the results. “Camera slowly pans left while clouds drift right” produced a much more intentional-looking clip than “make it move.”
Prompt Quality and Its Impact on Results
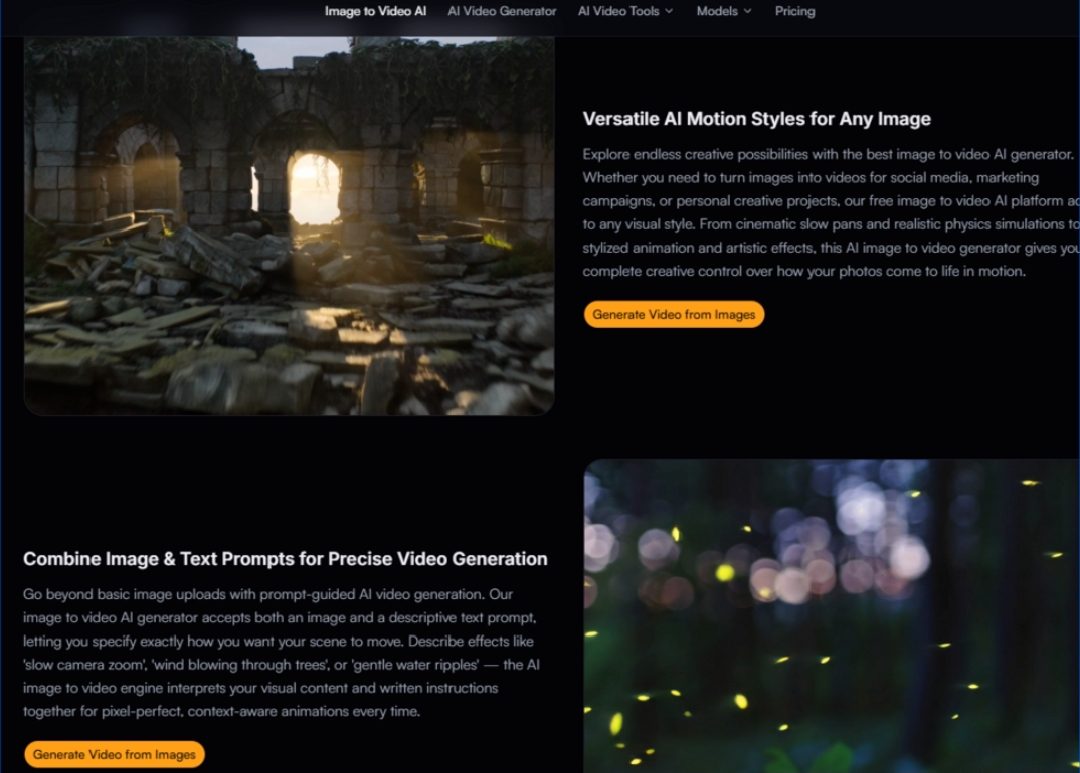
Prompt engineering matters here more than I initially expected. When I wrote vague prompts, the AI seemed to default to a generic slow-motion effect that sometimes felt disconnected from the image content. But when I described the scene in concrete terms — “water ripples outward from the center,” “leaves flutter in a gentle breeze” — the motion aligned much more closely with what I had in mind. The tool interprets both the visual content and the written instructions together, which means the prompt is not just an afterthought; it is half the input. From a practical user perspective, taking an extra thirty seconds to refine the prompt is almost always worth it.
Step 3: Generate and Download Your Video
Click generate, and the AI processes your photo into a dynamic video. You can preview the result, make adjustments if needed, and download the finished clip. The entire workflow from upload to download is fast enough that you can iterate on the same image multiple times without feeling like you are wasting a afternoon.
Generation Speed and the Iteration Cycle
Speed is one of the claimed strengths, and in my testing, it held up. Most generations completed in what felt like seconds rather than minutes. This is crucial for anyone who needs to produce video from images at high volume — social media managers, content creators, and marketers. Being able to generate a clip, watch it, tweak the prompt, and generate another version within a few minutes makes the tool feel like a real production asset rather than a slow novelty.
Motion Quality and Visual Fidelity: Where the Tool Shines and Where It Stumbles
The real test of any image-to-video tool is not how fast it generates, but whether the output looks like something you would actually want to share. I ran a series of side-by-side comparisons using the same images with different prompts to get a sense of the tool’s range.
Cinematic Motion and Realistic Physics
The platform advertises support for cinematic slow pans, realistic physics simulations, and stylized animation effects. In practice, the cinematic effects were the most consistently successful. A slow pan across a landscape photo produced smooth, natural-looking camera movement that felt like it belonged in a documentary or travel reel. The physics simulations — like water ripples or wind through trees — worked well when the image content supported them. A photo of a calm lake with the prompt “gentle water ripples” produced a convincing effect. The same prompt applied to a cityscape, however, yielded mixed results; the AI seemed unsure where to place the motion.
Subject Consistency and Edge Cases
One of the common failure points in image-to-video AI is subject distortion — faces warping, objects bending, or the original composition falling apart as soon as motion is applied. On this front, the tool performed better than I expected for simple scenes. Portrait photos with subtle motion (a slight head turn, a gentle smile) maintained facial structure well. Complex scenes with multiple subjects or intricate backgrounds were more hit-or-miss. In my testing, a photo of a crowded market with the prompt “people walking slowly” produced some artifacts around the edges of moving figures. The result may vary depending on image complexity, and for busy scenes, you may need to run a few generations to get a clean result.
HD Output Quality
The tool delivers output at up to 1080p resolution, and the clips I generated looked crisp when viewed on a monitor or phone screen. There is no visible quality degradation from the original image, which is not always the case with free AI video tools. For publishing to YouTube, Instagram, or TikTok, the resolution is more than adequate. The absence of watermarks on the output — for paid users — is another differentiator, as many free tools bury your work under logos or cap resolution at low quality.
Real-World Use Cases: Where This Tool Fits Into a Creative Workflow
Rather than testing in a vacuum, I tried to place the tool into actual creative scenarios. Here is how it performed across three common use cases.
Product Photography for E-Commerce
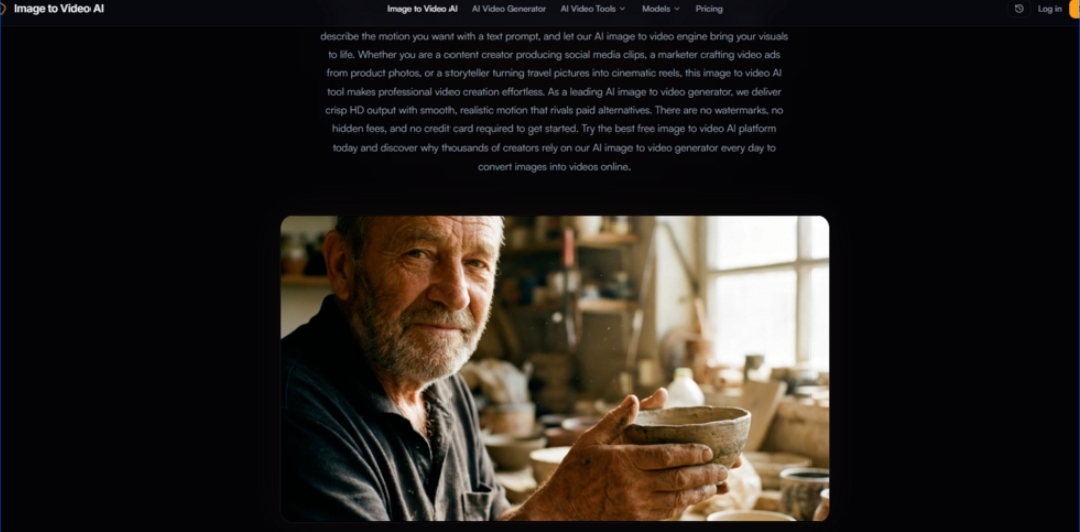
I took a set of product photos — a ceramic mug, a pair of sneakers, and a skincare bottle — and ran them through the tool with prompts like “slow 360-degree rotation” and “product gently floats with soft shadows.” The results were surprisingly usable. The mug rotated smoothly, the sneakers acquired a subtle hover effect that made them feel more dynamic, and the skincare bottle caught light in a way that felt polished. For an e-commerce store owner looking to add video previews to product pages, this tool could be a practical alternative to hiring a videographer. One store owner quoted on the site reported that adding video previews to product pages increased conversion rates by nearly 40%. While I cannot verify that number, the logic makes sense — products in motion do engage shoppers longer.
Travel and Lifestyle Content
This is where the tool felt most at home. Landscape photos, cityscapes, and travel portraits all took well to cinematic motion. A photo of a sunset over mountains with the prompt “slow zoom in with clouds drifting” produced a clip that looked like it belonged in a travel ad. A portrait of a friend in a cafe with the prompt “gentle camera sway, focus on subject” created a short reel that felt intimate and professional. For influencers and content creators who want to turn travel and lifestyle photos into short, dreamy video clips that outperform static posts, this tool offers a low-friction way to do it.
Design Mockups and Concept Presentations
As a designer, I often need to present mockups and concept boards to clients. Static images can feel flat in a pitch meeting. I uploaded a few UI mockups and brand concept boards, and the tool added subtle motion — soft zooms, gentle pans — that made the presentations feel more alive. The motion felt natural, not robotic like some other tools, and clients responded positively to seeing brand visuals in motion during early-stage presentations. For freelance designers and agencies, this could be a useful addition to the pitch workflow.
Comparing the Experience: Image to Video AI vs. the Typical AI Video Generator
To give a clearer picture of where this tool fits, here is a comparison based on my testing experience.
|
Aspect |
Image to Video AI |
Typical AI Video Generator |
|
Learning Curve |
Minimal — upload, prompt, generate |
Often requires parameter tuning, model selection, or multiple settings |
|
Workflow Clarity |
Three clear steps with no hidden menus |
Can be cluttered with advanced options that confuse beginners |
|
Creative Control |
Prompt-driven with support for specific motion descriptions |
May rely on presets or random generation with less user input |
|
Best Use Cases |
Social media clips, product animations, travel reels, design pitches |
Varies widely; some tools excel at abstract or experimental video |
|
Experience Stability |
Consistent for simple to moderate scenes; complex images may need re-runs |
Highly variable; some tools are unpredictable even with the same input |
|
Time Investment |
Seconds per generation; easy to iterate |
May take minutes per generation; iteration is slower |
This is not to say that other tools are worse — many serve different purposes. But for someone who needs a straightforward, fast image-to-video solution without a steep learning curve, this tool occupies a clear niche.
Real Limitations: What the Tool Does Not Do Perfectly
No tool is without its weaknesses, and it is important to be upfront about where this one falls short.
Prompt Sensitivity
The quality of your output is heavily dependent on the quality of your prompt. Vague or poorly constructed prompts produce generic or mismatched motion. This is not a flaw unique to this tool — it is a characteristic of the entire category — but it does mean there is a learning curve to writing effective prompts. New users may need to experiment a few times before they get the hang of it.
Complex Scenes May Require Multiple Generations
Images with many subjects, intricate backgrounds, or ambiguous visual hierarchy can produce inconsistent results. In my testing, a photo of a crowded street festival required three generations before I got a clip without visible artifacts around moving figures. The result may vary depending on the image, and for complex scenes, you should budget time for multiple attempts.
No Guarantee of Perfect Consistency
Like all AI video generation tools, this one does not guarantee perfect results every time. The same image with the same prompt can produce slightly different outputs on different runs. This is the nature of generative AI, and while the tool is more consistent than many alternatives I have tested, it is not bulletproof. For production work where consistency is critical, it is worth running a few test generations before committing to a final clip.
Free Tier Limitations
The free tier offers 10 videos per day, which is generous for casual use but may not be enough for high-volume production. Paid plans remove the watermark and offer priority access. The pricing page shows a Standard plan at $9.9 per month with 2,000 credits (~200 generations) and a Pro plan at $19.9 per month with 6,000 credits (~600 generations), with credits never expiring on the one-time pack. Each generation costs 10 credits. The watermark-free output is a key differentiator for paid users, and the priority queue noticeably speeds up generation during peak times.
Who Should Consider Adding This to Their Toolkit
Based on my testing, this tool is best suited for:
- Social media managers and content creators who need to produce short video clips from images quickly and without hiring an editor.
- E-commerce store owners who want to add video previews to product pages without the cost of professional video production.
- Freelance designers and agencies who want to bring static mockups and concept boards to life in client presentations.
- Travel and lifestyle influencers who want to turn photos into cinematic reels that outperform static posts.
- Anyone who is new to AI video generation and wants a low-friction entry point without a steep learning curve.
It is less suited for:
- Professional video production that requires precise frame-by-frame control or long-form content.
- Complex scenes with many moving subjects where consistency is critical and you cannot afford to run multiple generations.
- Users who need advanced editing features like audio integration, multi-shot workflows, or scene transitions.
The tool does what it sets out to do: turn static images into short, dynamic video clips with minimal friction. It is not a replacement for a professional video editing suite, but it is not trying to be. For the use cases it targets — social media, e-commerce, design pitches, and personal creative projects — it delivers a practical, time-efficient solution.
After several days of testing across different image types and prompt styles, the verdict is clear: this tool is not a magic wand, but it is a genuinely useful addition to the creative toolkit. The three-step workflow keeps things simple, the generation speed makes iteration practical, and the output quality — particularly for cinematic motion — is strong enough for real-world use. The limitations are real, but they are the same limitations you will find in any tool in this category. If you are looking for a fast, accessible way to bring still images to life, ai image to video is worth a try — and the free tier gives you enough runway to decide whether it fits your workflow before you commit to a paid plan.